The Ultimate Guide to DIY Vape: Crafting Your Own Vaping Experience
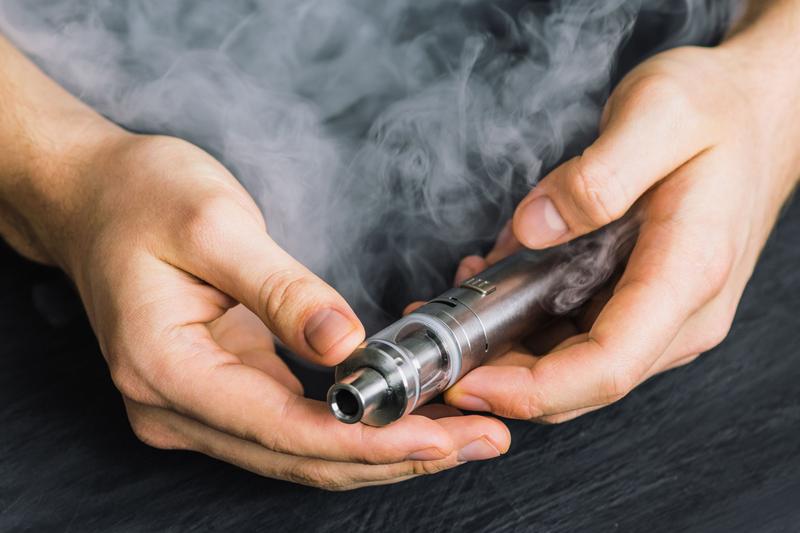
Vaping has become an increasingly popular alternative to traditional smoking, offering a customizable experience that caters to individual preferences. diy vape, short for Do-It-Yourself vaping, takes customization to the next level by allowing enthusiasts to create their own unique e-liquid blends and vape devices. In this comprehensive guide, we’ll delve into the world of diy vape, exploring the benefits, methods, and safety precautions involved in crafting your own vaping experience.
The Rise of DIY Vape Culture
diy vape culture has emerged as a vibrant community of enthusiasts who are passionate about crafting their own e-liquids and devices. What began as a niche hobby has evolved into a global movement, with online forums, social media groups, and dedicated websites providing resources and support for diy vapers.
One of the driving forces behind the rise of diy vape culture is the desire for customization and control. By creating their own e-liquids, vapers can tailor the flavor, nicotine strength, and VG/PG ratio to suit their preferences. This level of personalization simply isn’t possible with store-bought e-liquids, making diy vape an appealing option for those who crave a truly unique vaping experience.
The Benefits of DIY Vape
There are several compelling reasons why enthusiasts choose diy vape over pre-packaged e-liquids. One of the most significant benefits is cost savings. While store-bought e-liquids can be expensive, diy vape allows vapers to produce their own e-liquids at a fraction of the cost. By purchasing bulk ingredients and mixing them at home, diy vapers can enjoy substantial savings over time.
Furthermore, diy vape offers unparalleled flexibility and creativity. Vapers have the freedom to experiment with a wide range of flavors, from classic fruit and dessert profiles to more exotic combinations. With a little experimentation and imagination, the possibilities are virtually endless.
Getting Started with DIY Vape
So, how exactly do you get started with diy vape? The process can seem daunting at first, but with the right guidance and resources, it’s relatively straightforward. Here’s a step-by-step overview:
1. Gather Your Supplies
The first step is to gather all the necessary supplies and equipment. This includes base ingredients such as propylene glycol (PG), vegetable glycerin (VG), nicotine (if desired), flavor concentrates, syringes or pipettes for measuring, and empty bottles for storing your e-liquids.
2. Choose Your Flavors
Next, it’s time to select your flavor concentrates. There are countless options available, ranging from single-flavor concentrates to complex multi-flavor blends. Experiment with different combinations to find the perfect flavor profile for your palate.
3. Mix Your Ingredients
Once you’ve chosen your flavors, it’s time to mix your ingredients. Start by measuring out the appropriate quantities of PG, VG, nicotine (if using), and flavor concentrates according to your desired recipe. Be sure to follow safety precautions and wear gloves when handling nicotine.
4. Steep Your E-Liquid
After mixing your ingredients, it’s recommended to steep your e-liquid to allow the flavors to meld and mature. This process typically involves storing your e-liquid in a cool, dark place for a period of time, ranging from a few days to several weeks, depending on the recipe.
Safety Considerations
While diy vape can be a rewarding hobby, it’s important to prioritize safety at all times. Here are some key safety considerations to keep in mind:
1. Handling Nicotine
Nicotine is a toxic substance that can be harmful if mishandled. Always wear gloves and exercise caution when handling nicotine, and be sure to store it securely away from children and pets.
2. Proper Mixing Techniques
Ensure that you mix your e-liquids in a clean and well-ventilated area, and use only high-quality, food-grade ingredients. Avoid cross-contamination between different flavor concentrates, and be meticulous in your measuring and mixing techniques.
3. Storage and Labeling
Store your DIY e-liquids in child-resistant bottles, and be sure to label them with the ingredients used, nicotine strength, and the date of creation. This will help you keep track of your recipes and ensure that you’re vaping safely.
Conclusion
diy find more offers vapers the opportunity to take their vaping experience into their own hands, allowing for unparalleled customization and creativity. By following the steps outlined in this guide and prioritizing safety at all times, you can embark on a rewarding journey of DIY vaping that’s as satisfying as it is enjoyable.
Whether you’re a seasoned DIY enthusiast or just starting out, there’s never been a better time to dive into the world of diy vape and discover the endless possibilities that await.
Remember, the key to a successful diy buy it now experience is experimentation, so don’t be afraid to get creative and explore new flavors and techniques. Happy vaping!
Deja una respuesta